
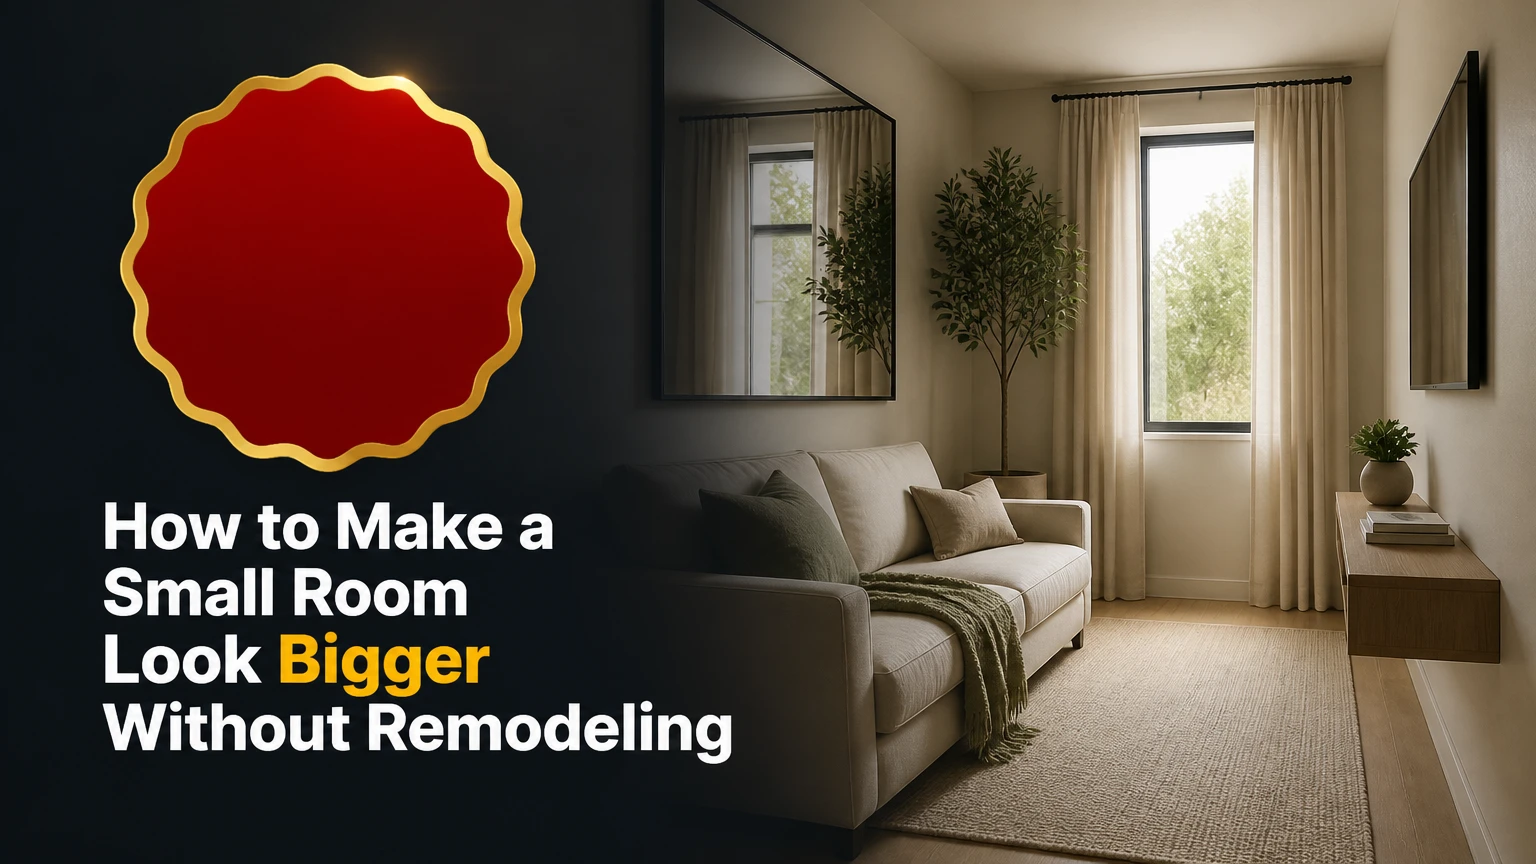
To make a small room look bigger, increase uninterrupted sightlines, distribute light into corners, reduce visual boundaries, and match furniture scale to the room’s usable dimensions. Paint walls and trim in a low-contrast light color, preserve a clear walking route, use one appropriately sized focal piece, mount curtains high and wide, and add a correctly positioned mirror.
Key facts at a glance
A light, low-contrast wall and trim scheme makes room edges less visually prominent.
A large mirror expands reflected light and depth, but it cannot create real storage or floor area.
Furniture should preserve a primary walkway of approximately 30-36 inches where possible.
Layered lighting works better than one central ceiling fixture because it reduces dark corners.
Curtains mounted 4-6 inches below the ceiling and 6-10 inches beyond the window can increase perceived height and width.
Decluttering produces the fastest free improvement because fewer objects create fewer visual interruptions.
Why Do These Techniques Make a Room Look Larger?
Small-room design changes perceived volume rather than actual square footage. The eye estimates distance from boundaries, contrast, shadow, object scale, and the number of uninterrupted surfaces it can follow.
A dark corner appears to terminate sooner than a lit corner. A sofa blocking the longest sightline makes the opposite wall feel closer. A strong contrast between white trim and dark walls outlines the room’s exact limits, while a similar wall, trim, and door color allows those elements to visually merge.
The effect is cumulative. A mirror alone may create glare or merely reflect clutter, but a mirror facing a bright window, paired with clear floor space and layered lighting, can make the room feel substantially more open.
Interior designer William Morris summarized the editing principle as, “Have nothing in your houses that you do not know to be useful, or believe to be beautiful.” The useful application in a small room is selective reduction, not empty minimalism.
What Should You Measure Before Changing the Room?
Measure the room, furniture, door swing, window position, and heating equipment before buying anything. A simple floor plan prevents a mirror, table, or storage unit from improving one sightline while blocking the only practical walkway.
Record these measurements:
- Room length and width, measured wall to wall.
- Ceiling height, including beams or soffits.
- Door width and swing radius.
- Window width, sill height, and distance to each corner.
- Furniture width, depth, and height.
- Clearances around beds, desks, drawers, and radiators.
- The longest uninterrupted view from the entrance.
For a rectangular room, place the largest visual obstruction away from the entry sightline when possible. In a 10-by-12-foot bedroom, for example, a 60-inch-wide bed placed on the shorter wall can leave a longer view through the room than the same bed placed across the longest axis.
Typical planning clearances are more useful than arbitrary “small room” rules.
| Planning feature | Typical target | Minimum practical value | Why it matters |
|---|---|---|---|
| Primary walkway | 30-36 in | 24 in | Maintains comfortable movement |
| Bed side clearance | 24-30 in | 18 in | Allows access and reduces crowding |
| Drawer or cabinet opening | 36 in | 30 in | Prevents furniture collisions |
| Coffee table to sofa | 16-18 in | 12 in | Preserves reach and circulation |
| Curtain rod beyond window | 6-10 in per side | 3 in | Exposes more glass |
| Furniture from wall | 2-4 in | 1 in | Prevents a solid visual line |
How to Make a Small Room Look Bigger in Six Steps
The most reliable sequence takes 4-12 hours for a cosmetic refresh, excluding paint drying and furniture delivery. Start with removal and layout because buying decorative items before solving circulation often increases the problem.
Step 1: Remove Visual Clutter Before Buying Anything
Remove 20-30% of visible objects from shelves, tabletops, open storage, and the floor. Keep daily-use items accessible, then relocate duplicates, packaging, loose cables, and objects that do not support the room’s function.
Do not empty every surface automatically. A completely bare room can feel temporary and expose awkward proportions. Instead, group necessary items in one controlled zone and leave deliberate negative space around it.
Success checkpoint: From the doorway, you should be able to identify the room’s main function within two seconds and see at least one continuous floor path.
Common mistake: Buying baskets, boxes, and organizers before discarding or relocating items. Containers can hide clutter while consuming the same floor area.
Step 2: Paint the Visual Boundaries in a Low-Contrast Scheme
Use a light or medium-light color on the walls, ceiling edge, baseboards, and door trim when the goal is maximum visual continuity. Paint manufacturers express reflectance through Light Reflectance Value, or LRV, on a scale from 0 for near-black to 100 for near-white; an LRV around 60-75 is a practical starting range, not a universal requirement.
Benjamin Moore explains LRV as the percentage of light a color reflects, but actual appearance changes with window direction, artificial light, flooring, and surrounding colors. Test two or three large sample areas at morning, afternoon, and evening.
Choose a soft white, pale greige, muted blue-green, or restrained cool gray when the room receives moderate or strong daylight. In a north-facing or windowless room, a slightly warm off-white can prevent a sterile blue cast. Cool colors often recede visually, but a dim cool gray can look darker than a warmer pale neutral.
Use eggshell or satin on walls if the surface is sound and washable. Flat paint hides imperfections better, while high-gloss paint can produce distracting reflections and emphasize uneven drywall.
Success checkpoint: The trim, door, and wall edges should not form a high-contrast outline around the room.
Common mistake: Choosing the brightest possible white without testing undertones. A blue-white beside yellow flooring can make both surfaces look harsher and more separated.
Step 3: Protect the Longest Sightline With Correctly Scaled Furniture
Arrange furniture around one clear route from the entrance to the farthest visible wall or window. A small room usually looks larger with fewer, well-proportioned pieces than with many miniature pieces that fragment the floor.
The “one large statement” rule has an important qualification: choose one dominant piece that fits the room, not the largest piece available. A 78-inch sofa may anchor a 12-by-14-foot living room, while a 60-inch loveseat may suit a 9-by-11-foot room more effectively.
Select furniture with exposed legs, open sides, rounded corners, or wall-mounted bases where practical. These features reveal more floor and allow light to pass beneath the object. Glass or acrylic tables reduce visual mass, although they require frequent cleaning and may not suit homes with young children.
Float a sofa or bed 2-4 inches from the wall only when the layout remains functional. The gap is a finishing detail, not a substitute for a usable walkway.
| Furniture choice | Typical footprint | Visual effect | Best room use |
|---|---|---|---|
| Slim-leg loveseat | 55-70 in wide, 32-36 in deep | Shows floor beneath | Small living room |
| Wall-mounted desk | 36-48 in wide, 16-20 in deep | Removes leg obstruction | Studio or office |
| Storage ottoman | 24-36 in wide | Replaces table and bin | Living room |
| Platform bed with drawers | Full: 57 x 77 in | Combines sleeping and storage | Small bedroom |
| Nesting tables | Largest: 18-24 in wide | Separates when needed | Flexible seating area |
Success checkpoint: The main door can open fully, the primary path stays clear, and no furniture blocks more than half of the window.
Common mistake: Pushing every item flat against the walls. This can emphasize the room’s perimeter and create an unusable island of floor in the center.
Step 4: Add One Mirror Where It Reflects Depth or Daylight
Place a mirror on a wall adjacent to or opposite a window when the reflection shows sky, outdoor depth, or a bright surface. A mirror facing a blank wall, television, pile of clothing, or close neighboring building can make the room feel busier rather than larger.
For the strongest vertical effect, use a mirror approximately 24-36 inches wide and 60-72 inches tall, or use a wider horizontal mirror above a console in a living room. Secure leaning mirrors with anti-tip hardware, especially in bedrooms, rental properties, and homes with children or pets.
Mirrors amplify available light; they do not generate light. Avoid placing one where direct sun creates glare, heat on delicate finishes, or an uncomfortable reflection from a seating position.
A large mirror usually performs better than a gallery of small mirrors because its uninterrupted reflective surface produces fewer visual divisions.
Success checkpoint: Stand at the entrance and confirm that the mirror reflects either the window, a lit zone, or the longest open portion of the room.
Common mistake: Installing a mirror simply because the wall is empty. The reflected content matters as much as the mirror’s size.
Step 5: Layer Light From Ceiling, Task, and Low-Visibility Sources
Use at least two lighting heights and three functions: ambient light for general visibility, task light for reading or working, and accent light for dark corners or architectural edges. A single central fixture often leaves corners dim, which makes the boundaries appear closer.
A practical small-room setup includes a flush-mount ceiling fixture, a table or wall lamp near the activity zone, and a floor lamp or concealed LED strip near the darkest corner. Use 2700-3000 kelvin bulbs for living rooms and bedrooms, or 3000-3500 kelvin for a focused work area. Keep color temperature consistent within the same visual zone.
Aim for diffused light rather than exposed high-glare bulbs. Wall sconces and upward-shining lamps draw attention toward ceiling height, while under-shelf lighting can separate storage from a dark wall.
The Illuminating Engineering Society distinguishes ambient, task, and accent lighting by function, and that distinction is useful here: brightness alone does not correct poor distribution.
Success checkpoint: No corner remains substantially darker than the center after the main lights are on.
Common mistake: Installing brighter bulbs in the same central fixture. More output can increase glare without illuminating the room’s edges.
Step 6: Raise Curtains and Extend Them Beyond the Glass
Mount the curtain rod 4-6 inches below the ceiling, or at the ceiling line when the architecture allows it. Extend the rod 6-10 inches beyond each side of the window so the open panels sit on the wall rather than covering glass.
Choose floor-length curtains in a light, low-contrast fabric. Sheer linen or a thin cotton blend preserves daylight, while lined curtains provide better privacy and temperature control but add visual weight.
Do not force ceiling-height curtains into every room. If a low soffit, radiator, bay window, or unusually tall window makes the treatment awkward, align the rod with the window’s architectural frame and keep the fabric simple.
Success checkpoint: Open curtains reveal nearly the entire window, and the fabric forms a vertical line from rod to floor.
Common mistake: Using a short rod with heavy valances. The treatment reduces visible glass and creates a horizontal band that lowers the room.
Which Changes Give the Most Space for the Least Money?
Decluttering and layout changes deliver the highest return at no material cost. Mirrors and paint create stronger visual changes, while built-ins and flooring can improve both appearance and function but require more money, planning, and installation time.
Typical US project ranges vary by region, material quality, and labor.
| Strategy | Typical material cost | Typical labor or DIY time | Perceived effect | Main limitation |
|---|---|---|---|---|
| Decluttering and rearrangement | $0-75 | 3-6 hours | High | Does not add storage |
| One large mirror | $60-350 | 1-3 hours | High | Can create glare |
| Paint walls and trim | $100-400 | 1-2 days | High | Needs surface preparation |
| High, wide curtains | $50-250 | 2-4 hours | Medium | Reduces privacy if sheer |
| Layered lighting | $80-500 | 2-6 hours | Medium-high | Requires outlet access |
| Floating storage | $100-900 | 3-12 hours | Medium-high | Needs secure anchoring |
| New continuous flooring | $1,000-5,000 | 1-4 days | Medium | Disruptive installation |
A renter should prioritize removal, movable furniture, a secured freestanding mirror, plug-in lamps, and tension-mounted treatments. A homeowner can add paint and wall-mounted storage. A renovator can unify flooring, recess storage, widen openings, or replace a swinging door, but structural work should follow a measured floor plan rather than a visual trend.
Which Options Work Best for Different Room Shapes?
The best visual strategy depends on the room’s geometry, daylight, and primary obstruction. A narrow room needs lengthwise sightlines, a low-ceiling room needs vertical emphasis, and a windowless room needs balanced artificial light rather than reflective surfaces alone.
| Room condition | Priority action | Avoid | Typical best color approach |
|---|---|---|---|
| Narrow rectangle | Run flooring and rug lengthwise | Large furniture across the width | Light continuous neutral |
| Low ceiling under 8 ft | Raise curtains and use uplight | Dark ceiling bands | Ceiling one step lighter |
| Windowless room | Add two or three light sources | Relying on a mirror alone | Warm pale neutral |
| Dark flooring | Lighten walls and reduce rug contrast | Small high-contrast rugs | Soft warm white or greige |
| Open studio | Use one rug to define function | Several tiny zones | Repeated low-contrast palette |
| Small bedroom | Use vertical storage and bed drawers | Deep bedside cabinets | Wall-matched cabinetry |
How do you make a small bedroom look bigger?
Place the bed so its headboard does not block the entrance sightline, then replace bulky bedside tables with floating shelves or narrow nightstands 10-16 inches deep. Use under-bed drawers, a wall-mounted reading light, and full-height curtains to preserve floor area while adding storage and height.
A bedroom benefits from calm repetition more than from excessive decoration. Matching the headboard, wall, and largest storage unit within a close color range makes the largest objects less visually segmented.
Keep the bed as the room’s single dominant element. Several small chairs, baskets, and accent tables create more edges than the bedroom can comfortably absorb.
How do you make a small living room look bigger?
Choose one sofa, one compact table, and seating that preserves a clear route between the entry and the window. A sofa with a 32-36-inch depth, exposed legs, and a single upholstery color usually occupies less visual mass than a deeper sectional with multiple contrasting cushions.
Use a large enough rug to connect the front legs of the main seating pieces. A tiny rug floating in the center leaves a ring of disconnected floor and can make the furniture arrangement look fragmented.
How do you make a dark or windowless room look bigger?
Create an even light field with a ceiling fixture, wall or table light, and concealed illumination near the darkest wall. Use a pale warm neutral with an LRV around 60-75, then place a mirror where it reflects a light source rather than an empty dark surface.
Avoid a very glossy finish in a windowless room because irregular reflections can reveal wall defects and produce glare. Matte or eggshell walls paired with diffused lamps generally produce a calmer sense of depth.
What Should You Avoid When Enlarging a Small Room Visually?
Avoid any change that adds visual boundaries faster than it adds function. Dark feature walls, oversized deep furniture, short curtains, tiny decorative groupings, and unplanned open shelving commonly make the room feel more compressed.
| Mistake | Why it shrinks the room | Correction | Recovery time |
|---|---|---|---|
| Too many small decorations | Creates repeated visual breaks | Replace groups with one larger piece | 30-60 minutes |
| Oversized sectional | Consumes depth and blocks flow | Measure a shallower sofa | 1-3 weeks |
| Mirror facing clutter | Doubles visual noise | Redirect toward window or open wall | 15-30 minutes |
| Short curtains | Lowers the perceived window line | Raise rod and lengthen panels | 2-4 hours |
| Dark central ceiling light | Leaves corners in shadow | Add side and low-level sources | 1-4 hours |
| High-contrast trim | Outlines every boundary | Paint trim closer to wall color | 1-2 days |
| Open shelves packed full | Turns storage into a solid wall | Remove 20-30% of contents | 1-2 hours |
A dark accent wall is not automatically wrong. It can add depth when placed at the far end of a long, bright room, but it usually reduces openness on the room’s most visible side.
A large piece is not automatically better either. Oversized furniture fails when its depth blocks circulation, its doors cannot open, or it leaves less than 24 inches for movement.
What Is the Best 48-Hour Plan on a Budget?
A budget transformation can be completed in two days for approximately $0-250 if the existing furniture remains usable. Spend the first day editing and rearranging, then use the second day for lighting, curtains, and one strategic reflective surface.
First two hours: Photograph the room from the entrance, measure the furniture, remove obvious clutter, and mark the primary walking route with painter’s tape.
Hours three through five: Test two furniture layouts. Keep the arrangement that exposes the longest sightline and preserves at least 24 inches of essential movement.
Hours six through eight: Reposition lamps, replace mismatched bulbs with consistent 2700-3000K lamps, and light the darkest corner.
Day two: Raise the curtain rod if permitted, remove heavy valances, and place a 60-72-inch mirror where it reflects daylight or an open zone.
If painting is included, allow 4-8 hours for preparation and the first coat, plus drying time specified by the paint manufacturer. Do not judge the final color under one light source.
How Should You Choose Between Cosmetic and Structural Changes?
Choose cosmetic changes when the room’s problem is clutter, contrast, lighting, or poor furniture placement. Choose structural changes only when doors, built-in storage, flooring transitions, or wall geometry permanently waste usable space.
| Upgrade type | Example | Typical cost | Reversible | Best reason to choose |
|---|---|---|---|---|
| Cosmetic | Paint and curtain adjustment | $100-650 | Partly | Fast visual improvement |
| Movable | Mirror and legged furniture | $60-1,500 | Yes | Rental flexibility |
| Semi-permanent | Floating cabinetry | $300-3,000 | No | Storage plus floor exposure |
| Structural | Door or opening alteration | $1,500-8,000 | No | Corrects an architectural constraint |
| Flooring | Continuous plank installation | $1,000-5,000 | No | Extends the visual plane |
Continuous flooring can connect adjoining areas, but a transition may be necessary for moisture control, movement between flooring materials, or manufacturer requirements. Wide planks do not automatically enlarge every room; plank direction, grout lines, thresholds, and the amount of visible floor determine the result.
Built-in cabinetry painted to match the wall can look quieter than freestanding storage, but it reduces flexibility and may make a future layout change expensive. Measure access, door openings, electrical outlets, and ventilation before ordering.
What Is the Honest Limitation of These Design Tricks?
Visual enlargement cannot replace missing floor area, storage capacity, privacy, or daylight. A mirror cannot turn a windowless room into a bright room, and pale paint cannot make a sofa with excessive depth fit safely beside a door.
Prioritize function first. A room that looks open but forces people to turn sideways around furniture is poorly planned. Preserve safe access to windows, heaters, electrical outlets, and storage doors, and anchor tall mirrors or shelving according to the hardware manufacturer’s instructions.
The strongest result combines three modest changes: fewer visible objects, a protected sightline, and more even light. Decorative tricks work after those fundamentals are corrected.
Frequently Asked Questions
Does painting the ceiling white make a small room look bigger?
A light ceiling can increase perceived height when the ceiling receives enough illumination to remain visually distinct from the walls. White is not mandatory; a ceiling one value step lighter than the walls can look more integrated, particularly in a room with warm flooring or low daylight.
Should a small room have dark furniture?
Dark furniture can work when the piece has a slim profile, open legs, and enough contrast-free space around it. Pairing one dark anchor with pale walls is usually more successful than using several dark pieces, which can create multiple visual stops across the room.
Do horizontal or vertical stripes make a room look larger?
Vertical lines generally emphasize ceiling height, while carefully controlled horizontal lines can emphasize width. Use one directional pattern at a time, keep the contrast moderate, and avoid narrow repeating stripes that create visual noise across every wall.
Is a large rug better than a small rug in a small room?
A correctly sized large rug usually makes a seating area feel more unified because it connects furniture into one zone. A small rug can work beside a bed or beneath a compact desk, but a tiny central rug often leaves the arrangement visually disconnected.
How can I make a small room look bigger without painting?
Remove excess objects, rearrange furniture around a clear sightline, add layered lighting, raise curtains, and place one mirror toward daylight. These changes cost as little as $0-75 when existing lamps, curtains, and furniture can be reused.
What color makes a small room look the biggest?
No single color works in every lighting condition, but pale neutrals with an LRV around 60-75 are reliable starting points. Test warm and cool samples in the actual room because window direction, flooring, bulbs, and adjacent colors can change perceived brightness.
The Bottom Line
To make a small room look bigger, begin with the floor plan rather than décor: remove visual clutter, protect a 30-36-inch primary route where possible, and keep the longest sightline open. Then use low-contrast paint, evenly distributed light, high-and-wide curtains, and one mirror that reflects daylight or depth. These coordinated changes make a small room look bigger without sacrificing safety or function.